I first read about image transfers in 2007 in an article by Lesley Riley in Cloth, Paper Scissors. Since then I've spent a lot of time experimenting with different transfer techniques.
I've tried and had success with:
Soft gel medium and ...
photocopy paper - onto paper/card
inkjet photos - stand alone/paper card
inkjet transparencies - onto fabric
Water and inkjet transparencies onto fabric, organza or felt
Citroclean and photocopies onto ANYTHING - silk, paper, card...
TLS and photocopies - stand alone
I've found that
transparencies work best on fabric. Haven't had much luck with them onto paper. It always seems to smear. I like using them, but its a bit fiddly because you have to
print your image on an ink jet transparency - I don't think photocopy
film ones work. They're expensive plus I haven't had any luck with colours. B&W is fine and
detailed but colours come out with a green tinge due to the ink in my
printer. Life is too short.
Using
soft gel medium I found that you really need to use Golden. Everyone talks about it. I had an Atelier branded soft gel and had some success but just couldn't do paper transfers. If you've had problems, give the Golden a go.
The use of
photo paper for transfers is almost a science. There's so many theories about which paper? Matte or gloss? Which brand? I haven't found one that I'm happy with. Funnily enough, for me, the cheap and nasty
photocopies - colour or b&w give me the results! So I'll save my money. Remember you can select 'mirror' on most copy machines to flip the image - all ready for transfer!
Special J takes great surf photos and makes surf inspired art. She outlines the general transfer technique using soft gel medium here:
Special J's image transfer technique
Lots of people have excellent examples of photo/paper &
soft gel transfers on their blogs.
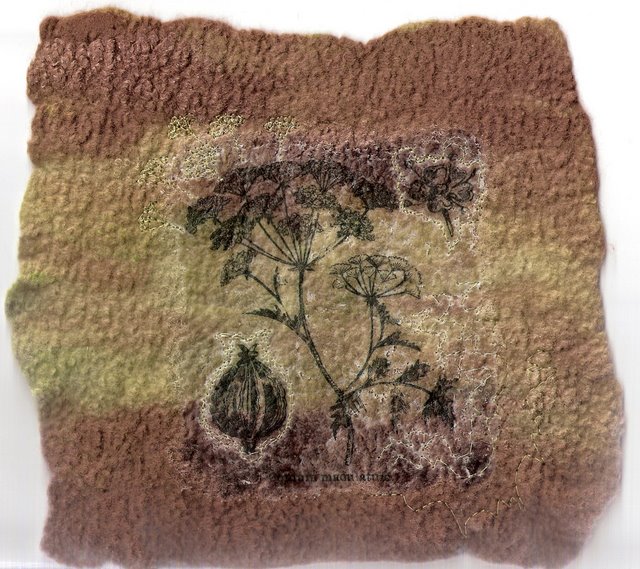
Here are some that I've done on hand made felt, which is less common.
Transparencies peel off without leaving any paper residue, which is important on fabric. You need to be careful how far you spread the medium as it changes the hand of the fabric and can be seen when dry.
 |
| Note the dry medium around the image that I've covered with stitching. (above) |
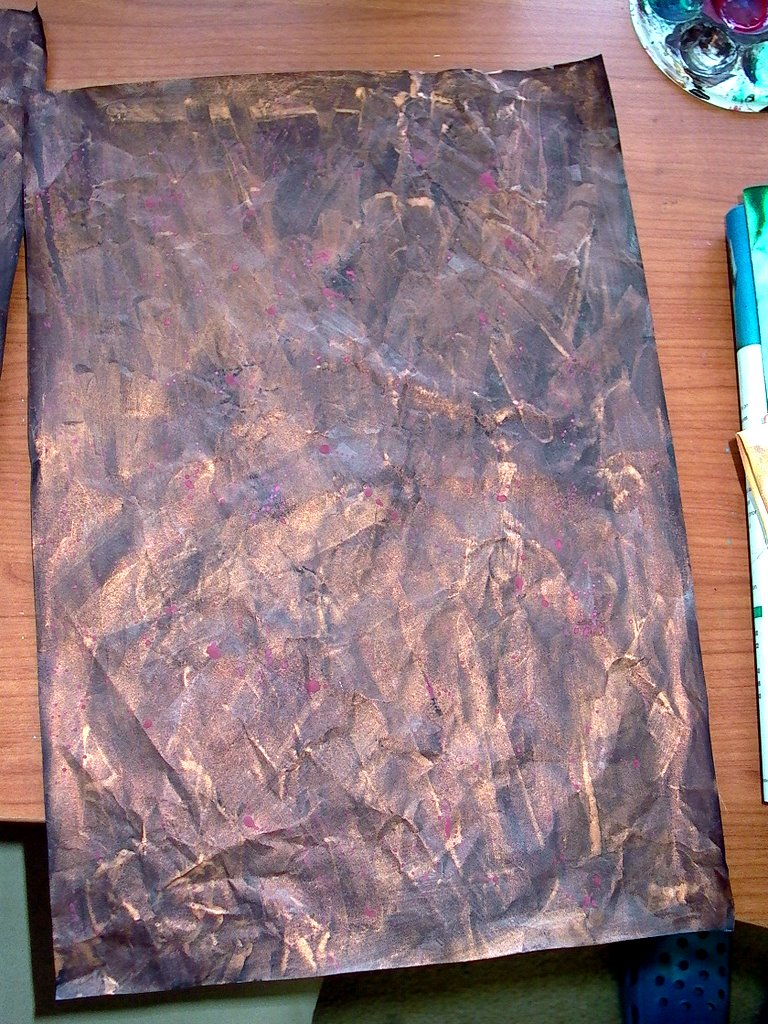
The above image is a colour photocopy or
print out transferred to paper using paint. With this technique you lay the image face down on the wet paint and leave it for a few minutes. Once it's started to set you carefully peel off the paper then roll away the remaining paper with your finger, leaving the ink behind in the paint. The same technique is used for soft gel transfers, although there's lots of variations.
I've read that with paper transfers, if you have paper fibres left over
on the image, painting on some wax medium turns the fibres translucent.
Plan to try that out soon.
The above is a
water transfer from an inkjet transparency. You spritz the transparency with water before placing it face down on your fabric and then burnishing. The fabric was too wet at the bottom of the arch and the image has run. However the top section is very sharp. Once you've rubbed everywhere you gently peel the transparency away. Haven't had much luck with this on paper but it works on....
Organza!! Which is pretty sexy!
The whole attraction to water transfers is that it
doesn't change the hand of the fabric.
 |
Here's another water transfer - this one is onto silk. |
The above, I'm fairly sure, is a water transfer from a colour transparency. Don't love the results. Too soft and washed out for me.
This next technique I didn't try for years. I was turned off by the idea of using solvents, then I got told about this product called Orange Power or
Citroclean. You buy it in the laundry cleaner isle of the supermarket. It's not
as nasty and works REALLY well.
Behold...
Above are two transfers using
Citroclean. On the left, a colour photocopy onto silk. On the right a b&w photocopy onto white card.
Above, colour copy onto silk (top) and (right) colour copy onto painted card.
Below, colour photocopy onto card.
This is by far the most versatile and reliable technique I've found. Plus one of the cheapest. It also doesn't change the hand of the fabric. You lay your image face down on your receiving surface - fabric, silk, card, paper then paint the back of the image with the
Citroclean until it is quite wet. Then working quickly, you burnish the back of the image quite hard with a spoon. It's just practice to get a feel for how much you need to do. Once you're done you just lift off the paper. The paper has a faded look which can sometimes be nice reused in collage. Leave the transfer to dry.
I like how sharp the image turns out. Plus you can get a really sharp border to the image (as above), or tear the edges off your photocopy before you start to give an organic edge (2 images up).
Finally we have
TLS transfers. Translucent liquid sculpey. I've had a bottle of this stuff sitting on my desk for about 4 years. I finally dragged it out and had a play. The results are pretty rad. It's bakable and the side of the bottle says stuff about putting it in the oven. In another CPS mag, dj pettit outlines another method using your iron. So I got my colour photocopy and placed it image up on a hard surface covered with greaseproof paper (deli wrap). I then covered the image with TLS, placed another layer of deli wrap on top and ironed it on high (no steam) until it set. After it cools down a little you simply peel the transfer off the copy paper.
Viola!
This is the first and only one I've done, but I'm pretty happy with the results. I plan to do some transfers of black line drawings and then add colour after. I have a feeling it will be bolder. You can stitch into these, cut them up, collage with them, even embed lace when baking. They feel a bit like latex, whereas I thought they'd be solid plastic.
This is a page out of a book I'm making. It shows the TLS transfer (top left), a soft gel transfer of a b&w music photocopy (bottom left) and a stand alone soft gel transfer of a colour photocopy (middle right). This last one is one I plan to try the wax medium out on. See the white paper fibres?
Right. Well, this will be a good reference for me later on. Hopefully it is of some use to you, if you've stumbled across it! Feel free to leave any questions in the comments and I'll answer if I can!