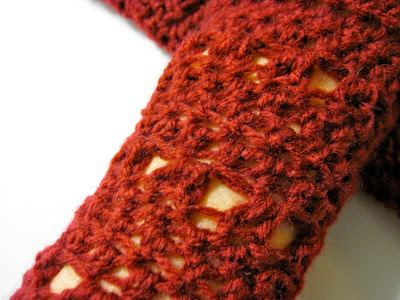
8 ply wool, 6mm crochet hook
Work flat in rows, turning your work at the end of each row.
Row 1: Chain 25
Row 2: hdc into 2nd chain from the hook. Hdc to end.
Row 3: Chain 2 to turn. Hdc entire row.
Row 4-7: repeat row 3.
Row 8: 1 chain to turn. sc entire row,
Row 9: As for 8.
Row 10: chain 2, dc in same stitch. Skip the next stitch, *2 dc in same stitch, skip the next stitch* repeat * to * til end.
Rows 11,12,13: chain 2, hdc to end.
Rows 14: As for row 10.
Row 15: chain2 to turn. hdc to end.
Row 16: as for 15.
Row 17: As for 15.
Row 18: As for row 10.
Row 19: As for 15
Row 20: as for 15
Row 21: As for 15
Row 22: chain 2 to turn, 2dc in same stitch. Skip next stitch. *3dc in next stitch, skip stitch* repeat * til end.
Row 23: chain 2. *hdc2tog, hdc in following stitch* repeat * til end.
Row 24: chain 2, hdc in next stitch. hdc in each stitch til the end.
Row 25: chain 1, sc in same stitch, sc in each stitch til end.
Fasten off.
Lastly slip stitch long sides together, right sides in. Else you can stitch with a tapestry needle, if preferred.
Beginning at top edge and using the photo as a guide, slip stitch edges together for 1 in. (2.5 cm), leave next 1 1/2 in. (4 cm) open for thumb, slip stitch remainder of side edges together. Fasten off and weave in ends.
 |
| stitch detail |

3 comments:
Nice!
These are so pretty.
They are very pretty
Post a Comment